
How to start training for front-lever

Alifyz Pires
August 22, 2026
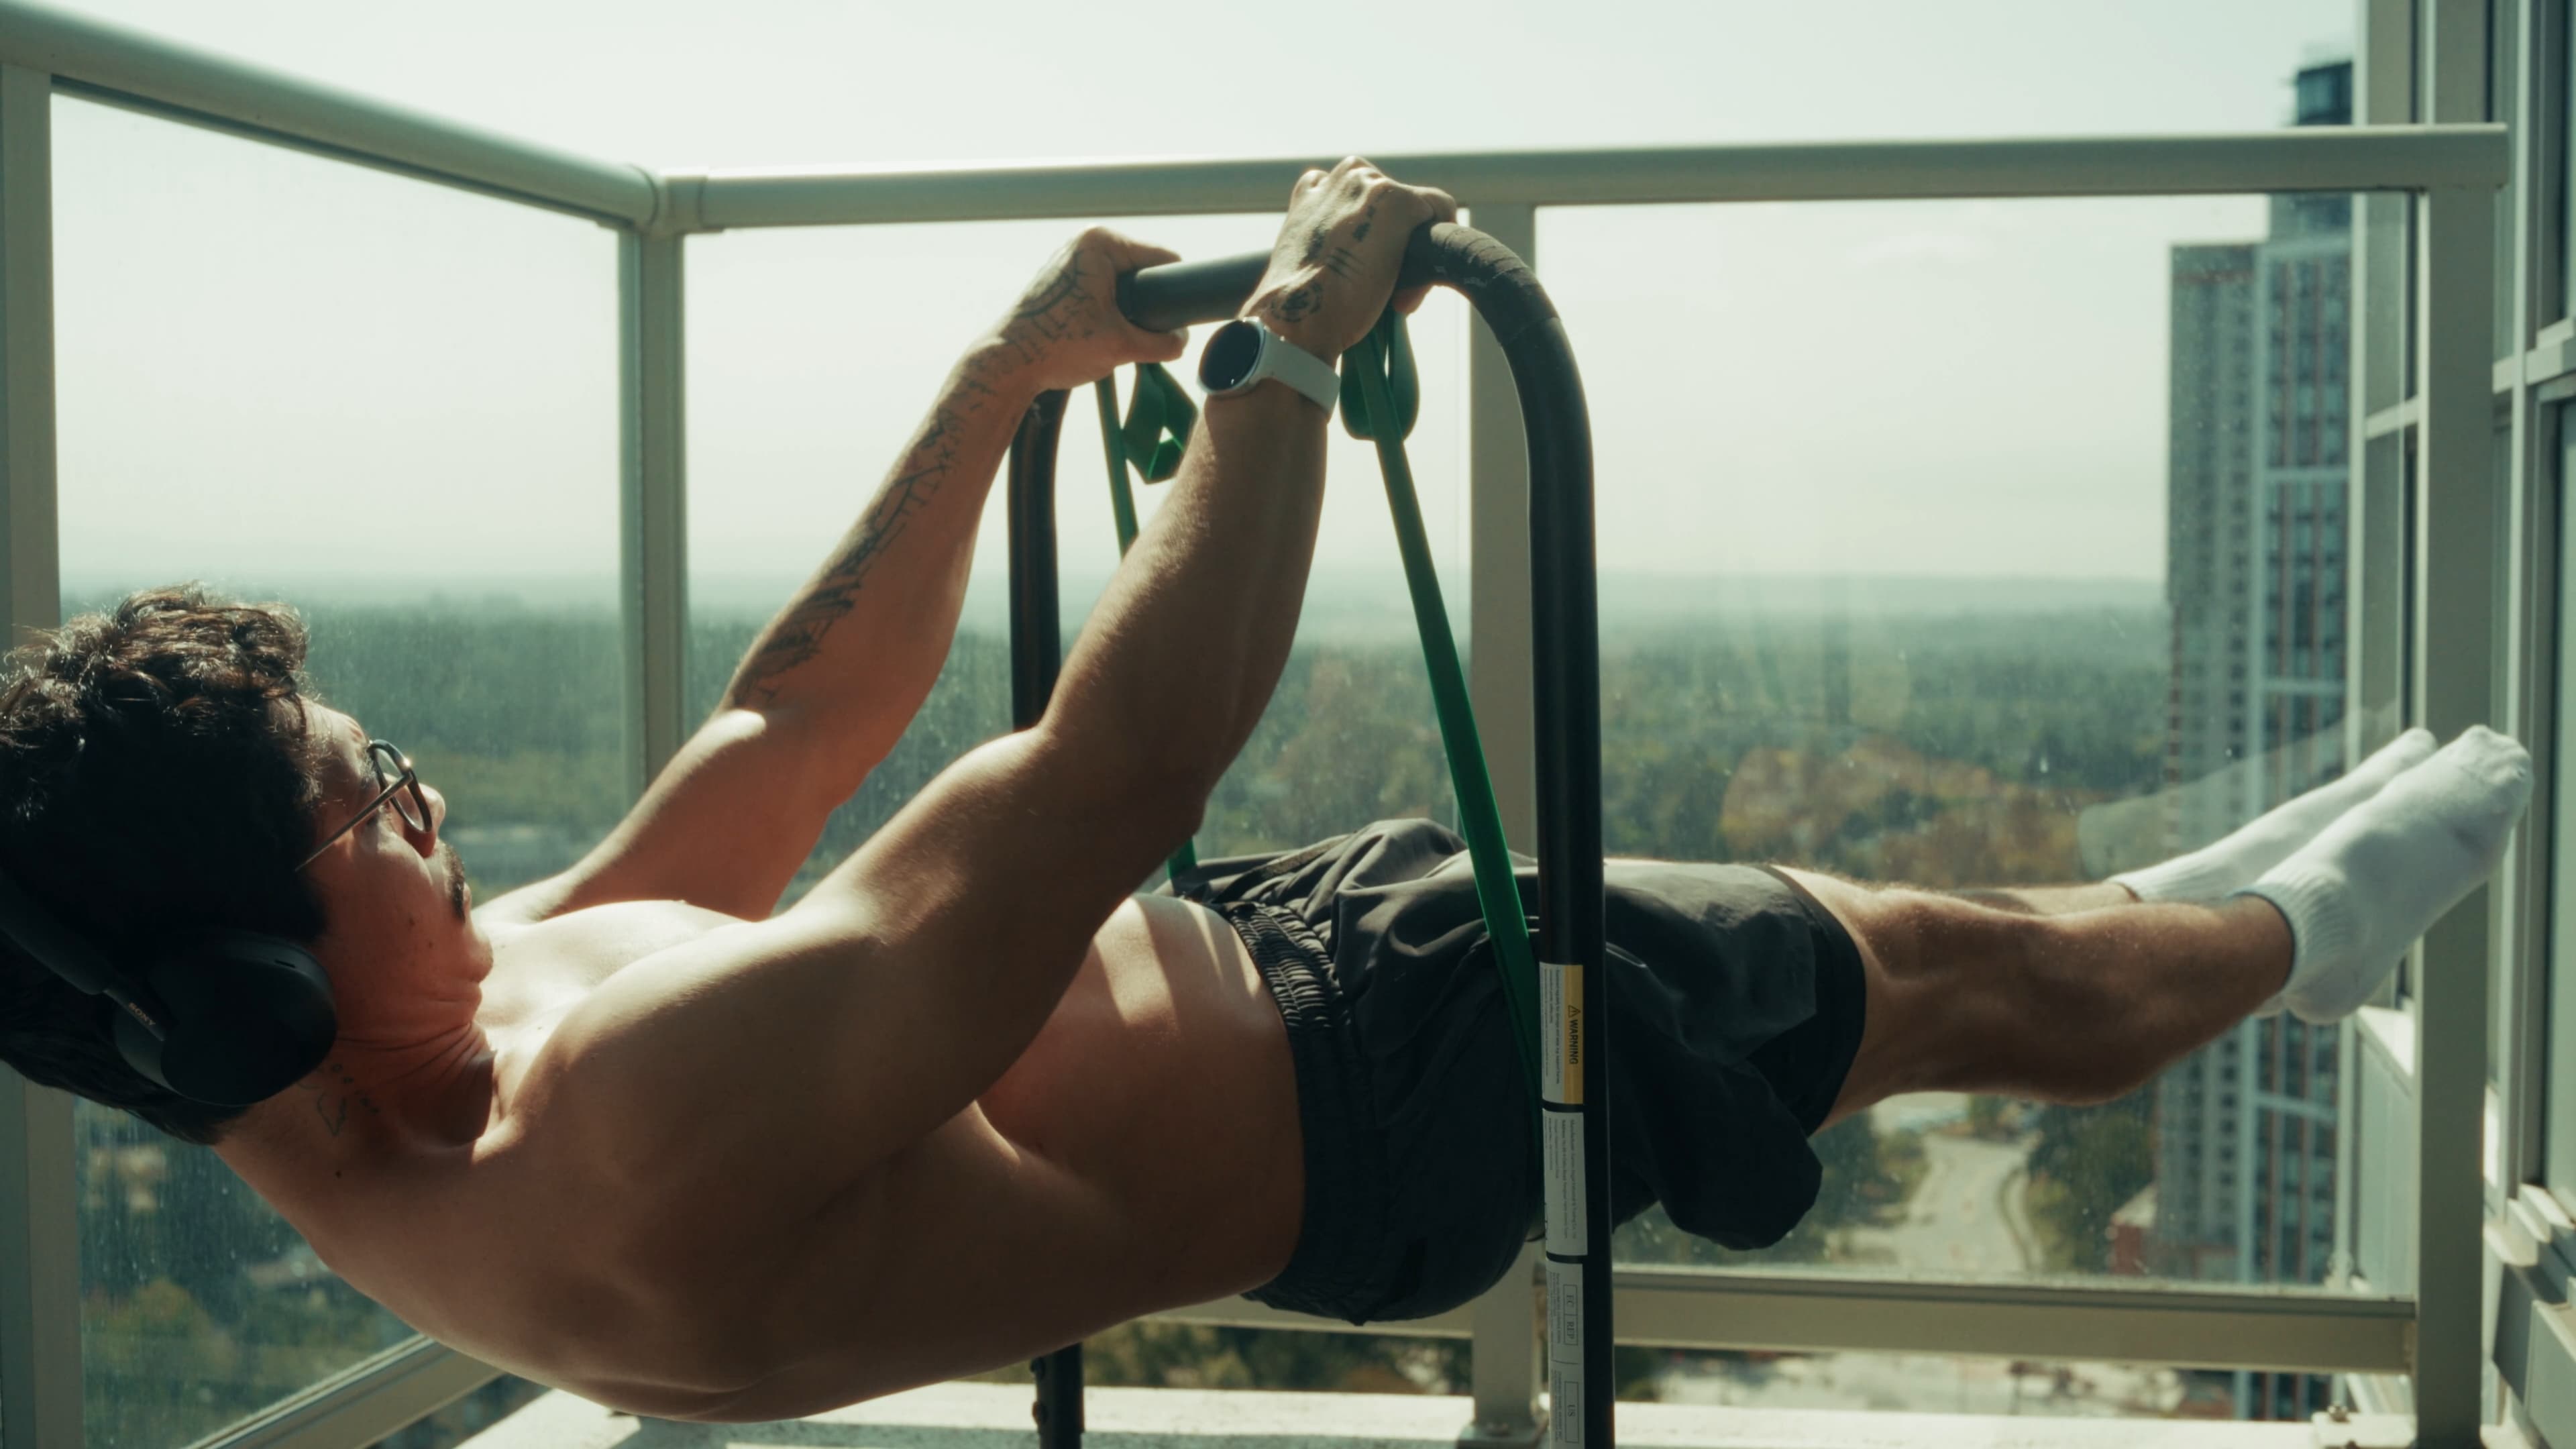
How to Start Training for the Front Lever
The front lever looks like a party trick. It's actually one of the most honest strength tests in bodyweight training — and the reason most people never get it has nothing to do with talent.
Hang from a bar. Pull your body up and back until you're horizontal, face to the sky, arms straight, from head to heels a single rigid line. Hold. That's the front lever, and it's the movement that separates people who train calisthenics from people who do pull-ups.
Here's the thing nobody tells beginners: the front lever is not a matter of getting stronger at pull-ups until it happens. You can bang out fifteen strict pull-ups and still be unable to hold a tuck lever for five seconds. It's a different quality of strength entirely, and it responds to a different kind of training.
This guide is the roadmap. Prerequisites, the full progression ladder, the three training methods that actually build it, an eight-week starter program, and the specific mistakes that keep people stuck at the same stage for a year.
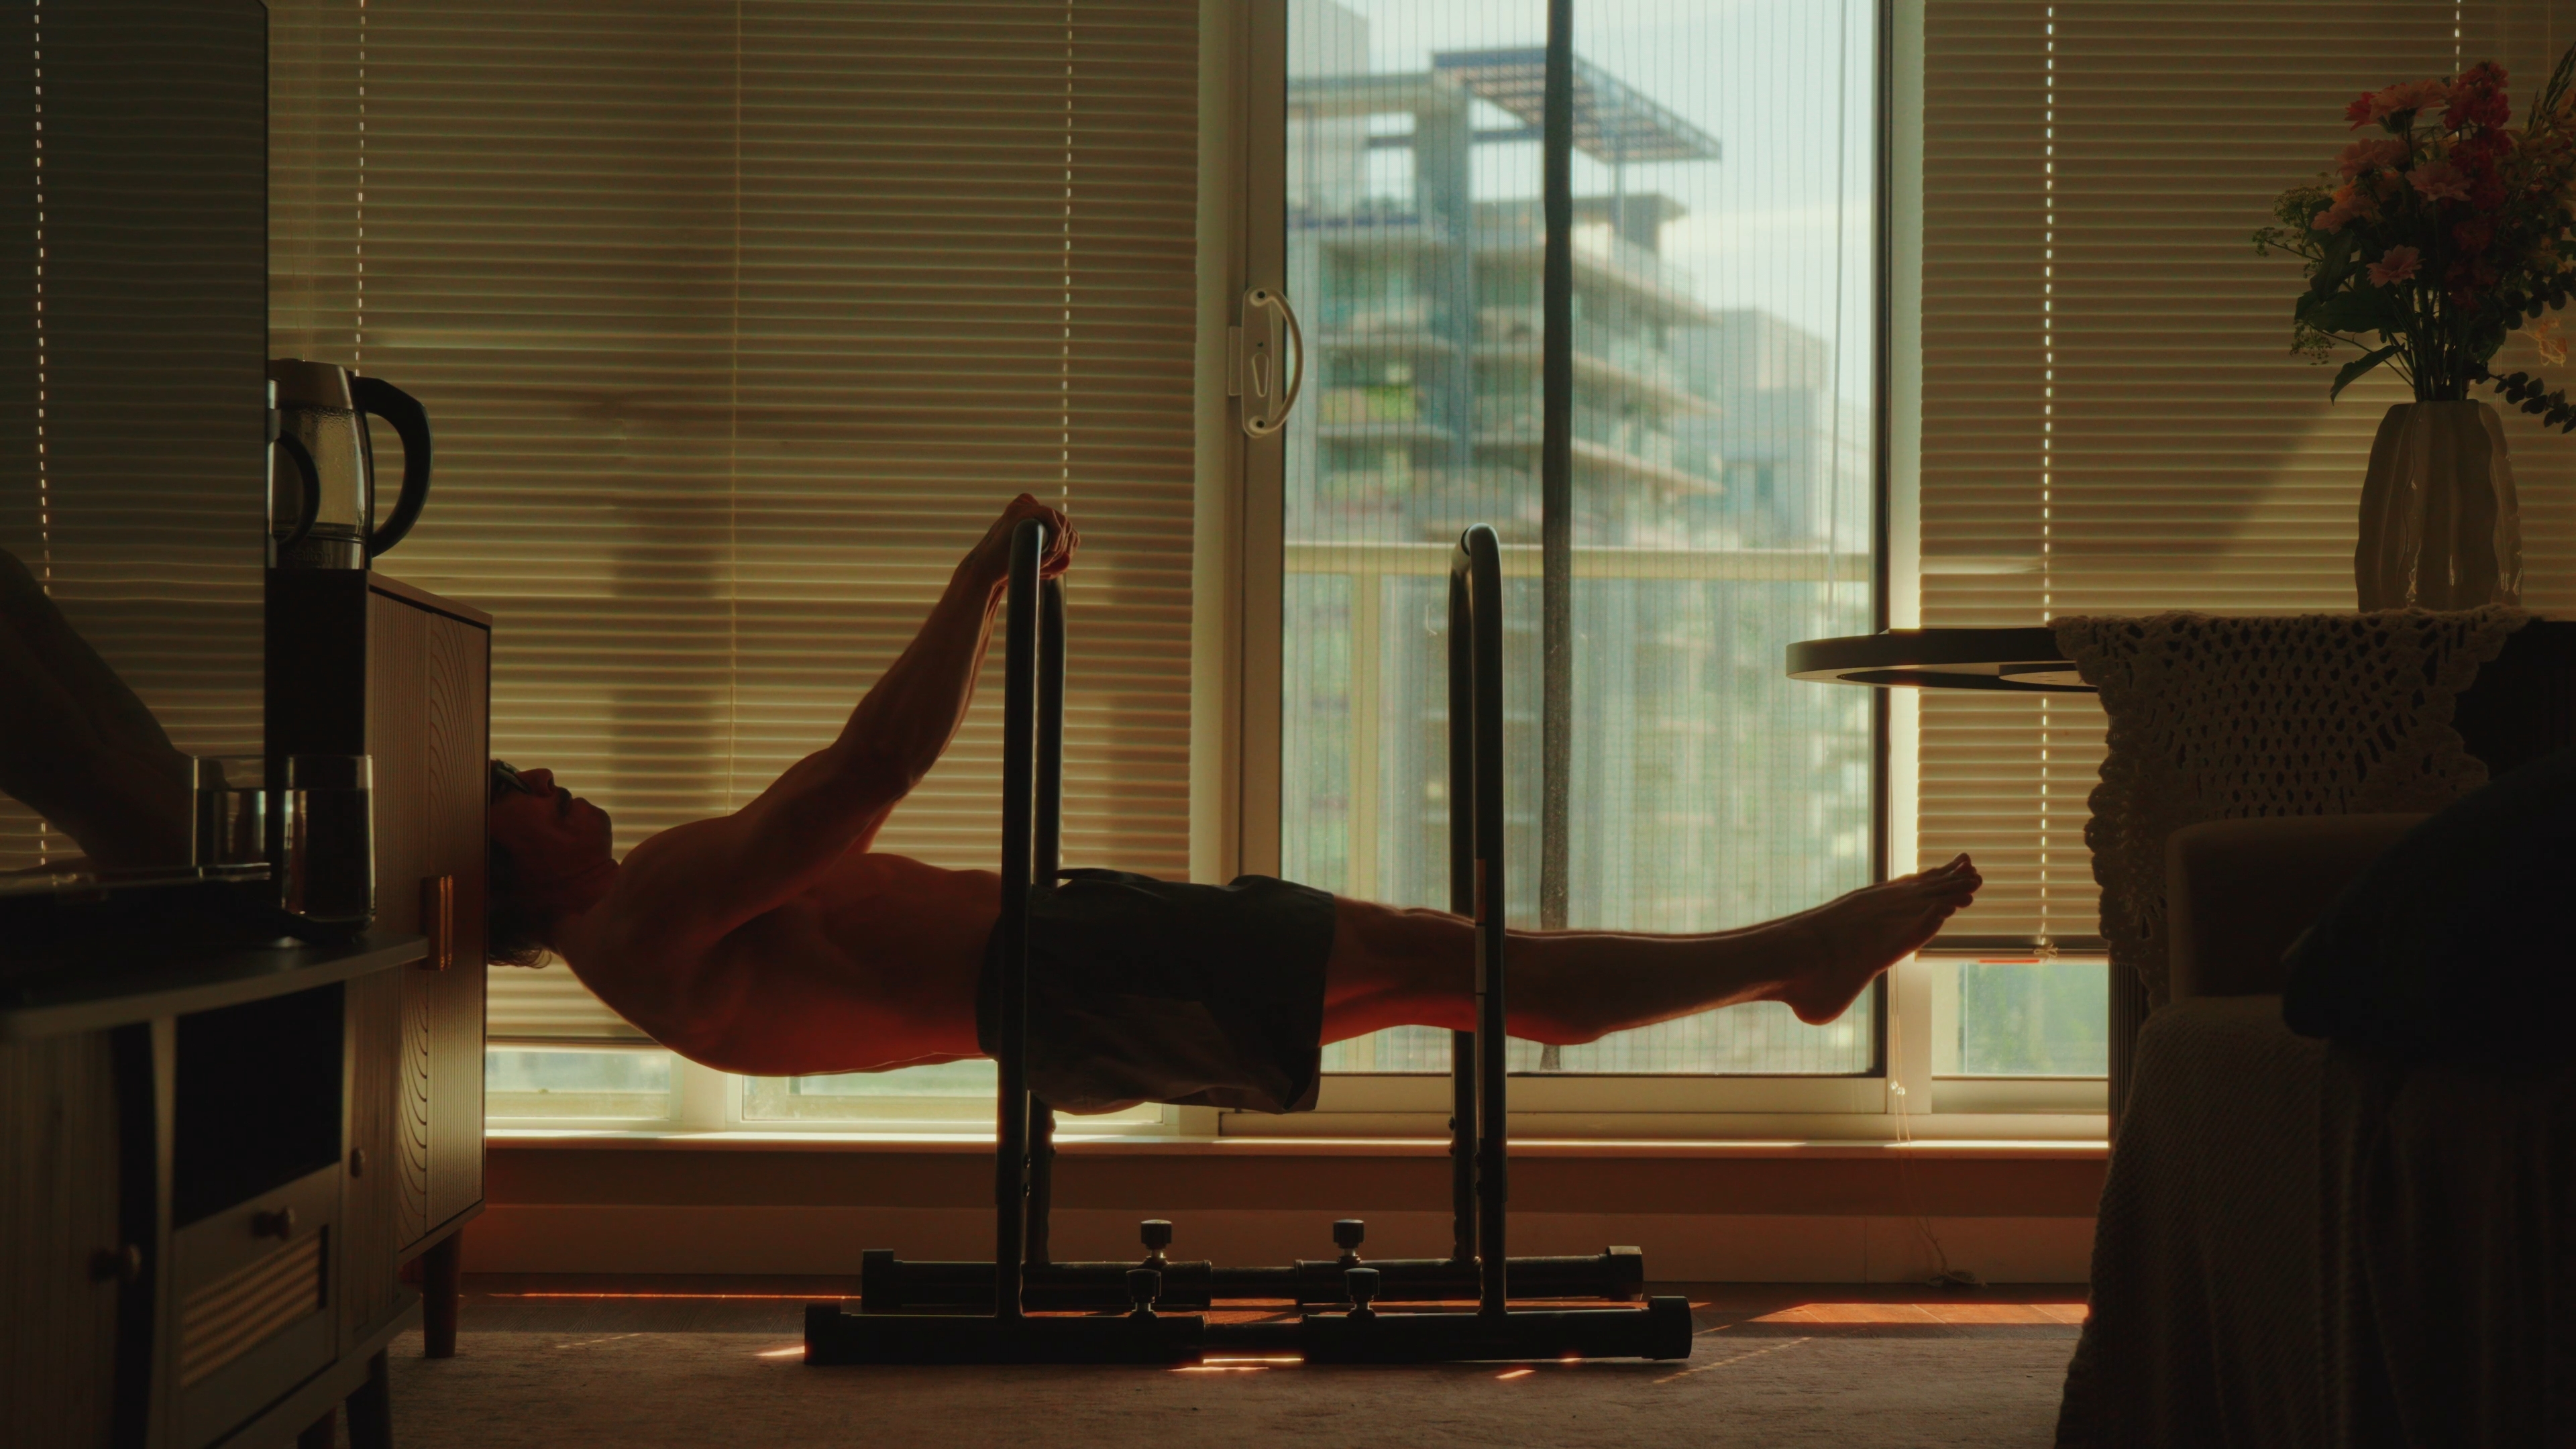
Why the front lever is so hard (the physics matter)
Understanding the mechanism will change how you train, so it's worth ninety seconds.
In a pull-up, your body hangs directly beneath your hands. The load line runs straight down through your grip. Your bodyweight is the resistance, and your arms bend to move it — a mechanically friendly arrangement.
In a front lever, your body is perpendicular to that line. Your hands are the pivot point and your body is a lever arm extending horizontally away from it. Your centre of mass sits somewhere around your hips, which is now roughly a metre from the bar. That distance is called the moment arm, and the rotational force your lats and core have to resist scales directly with it.
This is why the progressions work the way they do. When you tuck your knees to your chest, you haven't gotten lighter — you've pulled your centre of mass closer to the bar and cut the moment arm roughly in half. That's a reduction in required torque of about 50%, from the same body, on the same day. Every step of the front lever progression is just a controlled way of extending that lever arm back out.
The second complication: your arms stay straight. Straight-arm strength is a category most lifters have simply never trained. Bent-arm pulling lets your biceps and brachialis share the load. Straight-arm work hands almost everything to your lats, teres major, long head of the triceps, and the connective tissue around your elbows and shoulders. That tissue adapts more slowly than muscle does, which is the single most important fact in this entire article. Hold onto it — we'll come back to it when we talk about injuries.
What's actually working
- Lats and teres major — the prime movers, pulling your torso toward the bar and holding it there against gravity.
- Lower traps, rhomboids, serratus anterior — scapular control. These keep your shoulder blades depressed and protracted so your shoulder joint stays in a safe, strong position.
- Rectus abdominis and obliques — not a bonus, a requirement. Your core is what keeps your hips from sagging and turns your body into a single rigid segment instead of two.
- Glutes and hamstrings — the half of the equation nobody trains. If your glutes aren't firing, your legs droop and your lower back arches.
- Long head of the triceps and elbow flexors — isometrically resisting elbow extension and stabilising the joint under a straight-arm load.
Read that list again and notice something: it's a full-body chain. The front lever isn't a back exercise. It's a whole-body tension skill in which the back happens to work hardest.
Are you ready? The honest prerequisites
You don't need to be advanced. You do need a base, because starting front lever work on untrained connective tissue is how people end up with medial elbow pain that lasts six months.
The readiness checklist
- 8–10 strict pull-ups, full range, no kipping. This is the standard most coaches use, and it's a reasonable proxy for general pulling capacity.
- A 30-second dead hang with relaxed, active shoulders.
- A 30-second hollow body hold on the floor with your lower back flat.
- 10 clean scapular pull-ups — hanging straight-armed, pulling only your shoulder blades down and back.
- No current elbow or shoulder pain. Not "manageable" pain. None.
If you're missing two or more of these, spend four to six weeks building them before you touch a lever progression. That is not a delay. It's the fastest available route, because the alternative is starting, developing golfer's elbow in week three, and losing three months.
The four foundations to build first
Scapular pull-ups. Hang with straight arms. Without bending your elbows, pull your shoulder blades down and toward each other so your body rises two or three inches. Pause. Lower under control. 3 sets of 8–10. This teaches the exact scapular position the lever demands, and most beginners genuinely cannot do it at first.
Hollow body holds. Lie on your back, press your lower back into the floor, lift shoulders and legs. This is the front lever's body shape, practised horizontally where gravity is forgiving. Build to 3 × 30 seconds. If your lower back lifts off the floor, bend your knees more.
Skin the cat (on rings if you have them). Hang, tuck, rotate backwards through your shoulders until you're inverted and hanging behind yourself, then reverse. It's the best available preparation for the extreme shoulder positions of straight-arm work, and it builds tissue tolerance nothing else touches. Go slowly, 3–5 controlled reps.
Straight-arm pulldowns. With a band or cable, arms locked, pull from overhead to your hips. This is your entry point to straight-arm lat strength with a load you can actually dial down. 3 sets of 10–12.
The progression ladder
Six stages, each one extending your lever arm a little further. Progress through them in order and don't skip.
StagePositionMove on when you can
1. Tuck
Knees pulled tight to chest, back parallel to the floor, hips at bar height.
Hold 15 seconds, clean, three times in a session
2. Advanced tuck
Same, but hips open to roughly 90° and your back is flat rather than rounded. Knees drift away from chest.
Hold 15 seconds with a flat back
3. One-leg
One leg fully extended, the other tucked. Train both sides equally.
Hold 10–12 seconds per side
4. Half-lay straddle
Both legs extended but wide and slightly bent, knees soft.
Hold 10 seconds
5. Straddle
Legs straight and spread wide. The wider the straddle, the easier.
Hold 10–12 seconds, narrowing the straddle over time
6. Full front lever
Legs together, body horizontal, straight from hands to heels.
You're there. Now build toward 10+ seconds.
The rule that decides everything
A position only counts if your hips are level with your shoulders and your arms are straight. A tuck lever with sagging hips and slightly bent elbows is not a tuck lever — it's a hang with your knees up, and it will build almost nothing. Film yourself from the side. Everyone thinks they're horizontal. Almost nobody is.
The three ways to train it
Isometric holds alone will get you partway and then stall. Use all three.
1. Isometric holds — your primary driver
Hold your current stage for 5–15 seconds, rest 2–3 minutes, repeat 3–5 times. The long rest is not optional; this is nervous-system-heavy work and a fatigued set teaches your body a sloppy position.
Keep total quality hold time per session somewhere around 30–60 seconds. That sounds like nothing. It isn't — it's a lot of maximal tension, and more is not better here.
2. Negatives (eccentrics) — your fastest strength builder
Start inverted — hanging upside down with hips at the bar — then lower slowly into your target position and keep going until your body reaches horizontal or you lose the shape. Aim for a 5–8 second descent. 3–5 reps.
Eccentrics let you handle a harder position than you can hold, which is exactly why they drive progress. Work them one stage above your current hold: if you're holding advanced tuck, do your negatives in a straddle.
3. Front lever raises and rows — your bridge to the next stage
Raises: from a dead hang, pull with straight arms into your lever position, hold a beat, lower under control. 5–8 reps.
Rows: hold your tuck or straddle position and pull your chest to the bar, then lower back to horizontal with arms straight. Brutal, and the single best accessory for building the pulling strength the full lever needs.
An 8-week starter program
Two skill sessions a week, on non-consecutive days. Yes, only two. Straight-arm connective tissue needs 48–72 hours, and three sessions a week is where most beginners tip into elbow trouble. You can add a third session in month three if everything feels good.
BlockSession ASession B
Weeks 1–2
Tissue prep
Scap pull-ups 3×10
Tuck lever holds 4×5–8s
Hollow holds 3×30s
Pull-ups 3×5
Skin the cat 3×3
Straight-arm pulldowns 3×12
Tuck holds 3×5–8s
Hanging knee raises 3×12
Weeks 3–4
Build the hold
Scap pull-ups 3×10
Tuck holds 5×8–12s
Tuck lever rows 3×6
Pull-ups 3×6
Tuck negatives 4×5s descent
Tuck holds 3×10s
Hollow rocks 3×20
Ring/bar rows 3×10
Weeks 5–6
Open the hips
Advanced tuck holds 5×6–10s
Tuck lever raises 3×6
Weighted pull-ups 3×5
Hollow holds 3×40s
Adv. tuck negatives 4×6s
Tuck holds 3×12s
Front lever rows 3×6
Dragon flag negatives 3×5
Weeks 7–8
Consolidate
Advanced tuck holds 5×10–15s
One-leg holds 3×5s/side
Weighted pull-ups 3×5
Hollow rocks 3×25
One-leg negatives 4×6s
Adv. tuck holds 4×12s
Front lever rows 3×8
Skin the cat 3×5
Warm up for ten minutes, every session, without exception. Arm circles, band pull-aparts, scapular push-ups, dead hangs, wrist and elbow circles, a few light rows. Cold elbows plus straight-arm loading is the most reliable injury recipe in calisthenics.
Do your lever work first, while you're fresh. Skill before fatigue, always.
The mistakes that cost people years
Training to failure on holds. When your form breaks, the set is over. Grinding out five more shaky seconds teaches your nervous system a broken pattern and adds fatigue you'll pay for on the next session. Stop the moment your hips drop.
Skipping stages. Straddle looks close to full lever, so people jump. Then they spend eight months half-holding a position they never earned. Each stage builds tissue tolerance for the next one. The ladder is the shortcut.
Bending the elbows. Almost universal and almost always unconscious. Bent arms shorten the lever and shift work to the biceps, so you feel stronger — while training something other than the skill. Film from the side and check.
Ignoring the lower body. Squeeze your glutes and quads, point your toes. Loose legs mean a sagging body and a lower back that arches to compensate. Full-body tension isn't aesthetic advice; it's mechanical.
Training it too often. Enthusiasm plus daily lever practice equals medial elbow tendinopathy. Two sessions a week beats five, because the two you actually recover from are the two that count.
Neglecting pushing and antagonist work. All this pulling loads one side of the shoulder hard. Keep dips, push-ups, overhead pressing, and some direct triceps and rear-delt work in your week or you'll build an imbalance that eventually stops your progress for you.
The elbow warning
Pain on the inner elbow — golfer's elbow, medial epicondylalgia — is the front lever's signature injury. It typically shows up as a small ache that seems ignorable and then becomes the reason you stop training for two months.
If your inner elbow aches during or after a session: drop back a stage, cut your volume in half, and add wrist flexor and pronator work with a light dumbbell or band. Treat it in week one, not week six.
How long does it take?
Honest ranges, assuming you meet the prerequisites and train consistently twice a week:
- Solid tuck lever: 1–3 months
- Advanced tuck: 3–6 months
- One-leg: 6–10 months
- Straddle: 9–18 months
- Full front lever: 1–3 years
Those ranges are wide because bodyweight and limb length genuinely matter here — a longer, heavier body has a longer lever arm to control, which is physics rather than a character flaw. Lighter, shorter athletes tend to progress faster. It doesn't change the method, only the timeline.
The most common reason people never get there isn't any of that. It's abandoning the progression after eight weeks because it felt slow. Straight-arm strength is one of the slowest adaptations in all of training. Eight weeks is the warm-up.
Common questions
Rings or bar?
Learn on a bar. It's fixed, so you can focus entirely on position instead of fighting rotation. Rings are harder but easier on the elbows and shoulders once you can hold a tuck, since they let your joints find their natural path. Many people train holds on a bar and negatives on rings.
Overhand or underhand grip?
Overhand (pronated), shoulder-width. It's the standard and the most transferable. Some people find a false grip more comfortable on rings.
Can I train it alongside a normal lifting program?
Yes. Put lever work at the start of your pulling days, before heavy rows or deadlifts. Just count it toward your weekly pulling volume rather than treating it as free.
Do I need to be lean?
You need a good strength-to-weight ratio, which is not the same as being lean. Losing unnecessary bodyweight helps, but so does getting stronger. Don't diet your way toward a skill — train toward it and let composition follow.
My shoulders hurt in the tuck. What's wrong?
Usually scapular position. If your shoulder blades are elevated toward your ears, the joint is loaded in a poor position. Go back to scapular pull-ups until depression and protraction are automatic, then reintroduce the hold.
Should I use bands to assist?
You can loop a band under your hips for support, and it works. But the progression ladder is a cleaner tool — it reduces difficulty by changing your leverage rather than by removing load, which is more specific to the skill you're building.
Where to start today
Go to a bar. Hang. Do ten scapular pull-ups. Then pull into a tuck lever and hold it for as long as your hips stay level, and time it.
Whatever that number is — three seconds, zero seconds, a wobbly eight — that's your baseline, and it's the only piece of information you actually need. Write it down. Run the eight-week block above. Test again.
The front lever isn't a talent filter. It's a patience filter. Train the position two days a week, respect your elbows, refuse to skip stages, and the ladder does the rest.

Alifyz Pires
Founder of doit.fitness and supporter of the calisthenics community! I have been training calisthenics for over 4 years and decided to share that magic with the world and build software that can connect personal trainers with people who are looking to build the stronger versions of themselves.